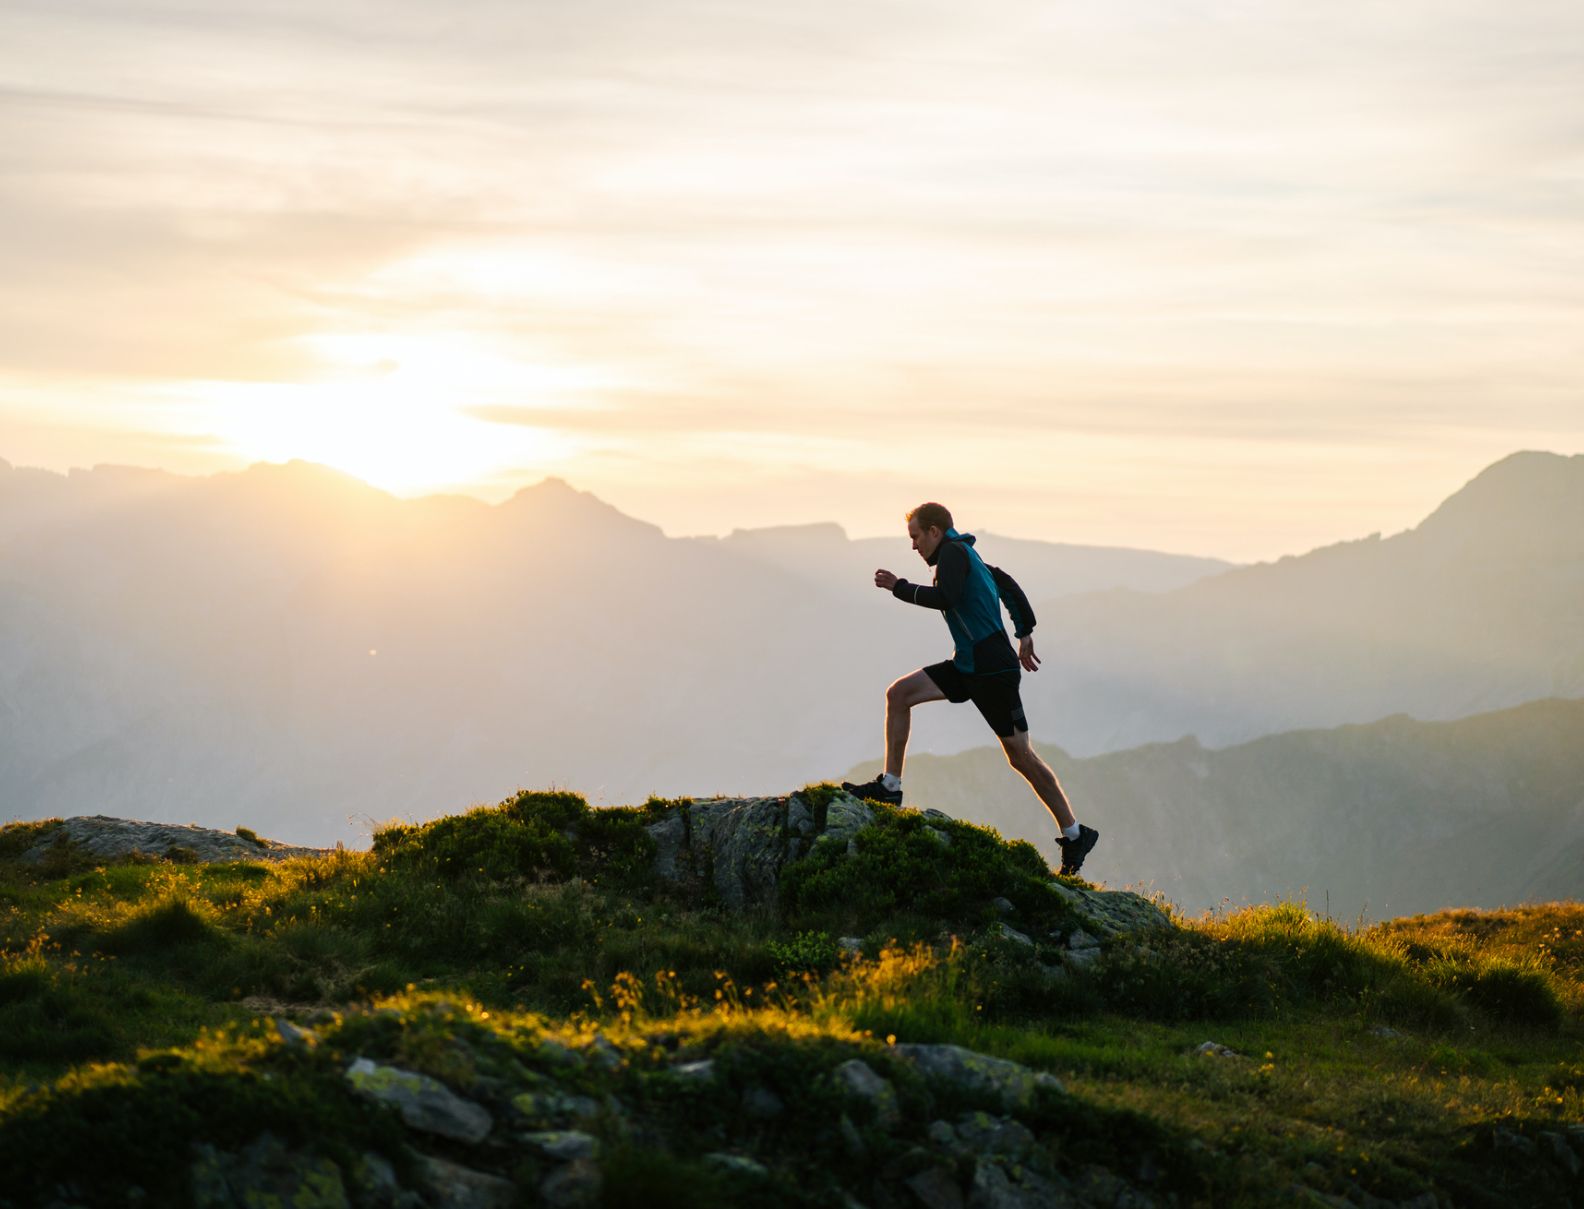
Kneeling Yoga Poses
- Author :
- TATA AIG Team
- ●
- Last Updated On :
- 23/07/2024
As an ancient practice with roots in Indian philosophy, yoga has gained immense popularity with its myriad health benefits.
Kneeling yoga poses, in particular, provide a unique set of advantages, addressing your physical and mental wellness needs.
If you are a fitness enthusiast desiring to live a healthy life, you must start practising kneeling yoga positions.
Understanding Kneeling Yoga Poses
Kneeling yoga poses are a type of postures that require practitioners to sit in a kneeled-down position. It is the foundation pose for many yogic asanas. Kneeling requires you to balance your body on the knees, similar to how you get down while showing submission or praying.
The kneeling pose is grounding in nature and helps in fostering a deep connection between the mind and body. It is an external sign of an inward feeling of gratitude and humility.
Many asanas emerge from this position, with variations like Child’s Pose (Balasana), Thunderbolt Pose (Vajrasana), and Hero Pose (Virasana).
Kneeling yoga positions are different from other postures because they emphasise proper alignment, mindfulness, and controlled breathing. They are a crucial part of a comprehensive yoga routine.
What Are The Benefits of Practising A Kneeling Yoga Pose?
All styles of yoga include a kneeling pose. It serves as a transition and base pose for almost all yogic poses. There are many benefits you can experience by practising these poses.
Improved Flexibility
Kneeling yoga poses help you stretch and open the hips, knees, and ankles. As a result, flexibility in these areas increases. Improved flexibility leads to improved overall mobility and lowers the risk of stiffness-related injuries.
Enhanced Posture
When you practise a kneeling pose, you are mindful of the alignment of your body. You maintain a straight and elongated spine. This improves your posture during yoga practice and also extends into your daily life, promoting a healthier and more confident posture.
Reduces Stress
Kneeling poses facilitate a sense of grounding and relaxation. As practitioners concentrate on breath control and meditative aspects, their stress levels are reduced. This makes kneeling yoga an effective tool for managing stress and anxiety.
Joint Health
The sitting-on-knee yoga pose is gentle. Thus, people with joint issues can also practise them without much trouble. Moreover, regular practice can help alleviate discomfort associated with conditions like arthritis, promoting joint health and longevity.
Improved Digestion
Certain kneeling poses involve a forward bend, which can aid in massaging and stimulating the digestive organs. This posture supports the digestive process, potentially reducing issues like bloating and indigestion.
Better Mental Focus
Kneeling poses are a combination of physical movement and mindfulness. Thus, they enhance mental concentration. As your focus increases, it can translate into improved productivity and cognitive function in daily life.
9 Best Kneeling Yoga Poses
There are different kinds of kneeling yoga positions. Here’s a guide to help you learn how you can perform them.
Child’s Pose (Balasana)
The Child’s Pose is the perfect foundational pose to start and conclude your yoga session. It grounds you and makes you more aware of your breath.
The pose is a must-do for individuals suffering from chronic back pains. It stretches your body, especially your neck, back, hips, thighs, ankles, and feet.
How to perform Balasana?
Kneel on your mat and place your hips on your heels.
Bend your body forward, slowly bringing your head down on the floor.
Extend your arms ahead of your head.
Hold this posture for around 30 seconds, breathing slowly.
To come out of the posture, sit back up on your heels while exhaling slowly.
Straighten your spine.
If the pose is strainful, use a block to rest your palms, triceps, forearms, and forehead.
Table Top Pose (Bharmanasana)
The Table Top Pose helps your body achieve proper alignment. It massages your lower abdomen and reproductive organs, grounds your energy level, relaxes your sciatic nerves, and engages the core muscles. You can perform the pose before transitioning into more complex poses. It is beneficial for blood circulation and digestion.
How to perform Bharmanasana?
Place your knees and hands on the floor.
Maintain a hip width between your knees.
Your palms should be under the shoulders with the fingers facing forward.
Look down between your palms, maintaining a flat back.
With your shoulders at a distance from the ears, press through the palms.
Lastly, stretch the head towards the front and the tailbone towards the wall, elongating your spine.
Cat and Cow Pose (Bitilasana Marjaryasana)
The Cat and Cow stretches help to warm up the spine. It gives your chest, shoulders, hips, abs, pelvis, and glutes a good stretch. Moreover, it improves blood circulation in your spine’s vertebrae, thereby calming you down and reducing back pain.
How to perform Bitilasana Marjaryasana?
Get into the table-top pose with your hips on your knees. Your hands should be at shoulder distance.
Your wrists should be parallel to the floor.
While exhaling, gently press your palms to the floor and extend your spine to the ceiling. Bend your head and tailbone down and tuck your lower abdomen in.
Hold for 15 seconds.
Pressing your palms on the floor, lift your head and tailbone and flex your spine towards the floor.
Remain in this posture for 15 seconds.
Repeat the movements for a minute.
Balancing Table Pose (Dandayamana Bharmanasana)
This pose is an extension of the Table Top Pose. While the Table Top Pose helps you achieve alignment, this one challenges your balance. It works on your legs and arms and also strengthens your core. It is a recommended posture to develop body strength while elongating and stretching your spine. You can take support if you feel like you’re losing balance.
How to perform Dandayamana Bharmanasana?
Get into the Table Top Pose with your hands and knees on the floor.
Your hands must be under the shoulders and your knees under the hips.
While inhaling, pick your right leg up and bring it parallel to the floor. Try to extend your toes to a wall for support.
Focus on the floor as you look between the palms.
As you inhale, bring your left arm parallel to the floor.
Hold this position for as long as you can, up to five minutes, while breathing deeply.
To release the pose, bring your hand back down as you exhale. Next, place your knee on the floor and return to the Table Top Pose.
Thunderbolt Pose (Vajrasana)
The Thunderbolt Pose is a foundational kneeling pose known for its grounding and meditative qualities. It is excellent for improving digestion, strengthening the pelvic muscles, and promoting a sense of calm and focus. If you practise it regularly, it can contribute to enhanced flexibility in the knees and ankles.
How to perform Vajrasana?
Begin by kneeling on the mat with your knees together and your feet slightly apart.
Slowly sit back on your heels, ensuring your hips rest in the gap between the heels.
Keep your spine straight, shoulders relaxed, and your hands resting on your thighs or knees.
Point your toes straight back, with the tops of your feet pressing into the mat.
Engage your core muscles, finding a comfortable and stable position.
Breathe deeply and evenly, maintaining the pose for a duration that feels comfortable.
Camel Pose (Ustrasana)
The Camel Pose is a dynamic yoga pose that opens the chest, stretches the front of the body, and promotes spinal flexibility. It provides an invigorating stretch for the entire front body, stimulates the digestive organs, and enhances spinal flexibility. You should approach this kneeling yoga exercise mindfully, gradually increasing the depth of the backbend over time.
How to perform Ustrasana?
Kneel on the mat with your knees hip-width apart. Ensure your thighs are perpendicular to the floor.
Place your hands on your lower back, fingers pointing downward. Draw your elbows toward each other to align your hips and shoulders.
Inhale deeply and start to arch your back, leaning backwards. Lift your chest toward the ceiling, engaging your core for stability.
Reach your hands, one at a time, toward your heels. Keep your neck in a neutral position, and avoid straining the lower back.
Hold the pose for a few breaths, feeling the stretch across the chest and front of the body. Breathe steadily.
To release, bring your hands back to your lower back and slowly come back to an upright kneeling position.
Retreating Warrior Pose (Parsvottanasana)
Retreating Warrior Pose is a yoga pose that combines strength and flexibility while stretching the entire back of the body. The kneeling warrior pose strengthens the legs, stretches the hamstrings, and improves overall flexibility. It also encourages a sense of grounding and balance, making it a valuable addition to your yoga practice.
How to perform Parsvottanasana?
Stand on the mat with your feet hip-width apart.
Step one foot back, keeping it parallel to the front foot. Both feet should point forward.
Square your hips to the front of the mat, aligning them with the front foot. The back leg remains straight.
Hinge at the hips, folding forward over the front leg. Keep your spine long and extend the chest forward.
Place your hands on the mat or yoga blocks on either side of the front foot. Ensure your hands are shoulder-width apart.
Elongate your spine, reaching the crown of your head forward. Engage your core for stability.
Hold the pose for several breaths, feeling a deep stretch along the back of the extended leg.
To release, step the front foot back to meet the back foot and switch sides.
Tiger Pose (Vyaghrasana)
The Tiger Pose is a yoga pose that combines strength, flexibility, and balance. It builds core strength, improves balance, and enhances flexibility in the limbs. The flowing, cat-like movements contribute to a sense of fluidity and grace in the practice.
How to perform Vyaghrasana?
Begin on your hands and knees in a Table Top position.
Engage your core muscles, and ensure your wrists are directly under your shoulders and your knees under your hips.
Inhale deeply, lifting your right leg off the mat and extending it straight behind you.
Arch your back slightly and simultaneously lift your left arm forward, reaching it straight out in front of you.
Hold the pose for a few breaths, focusing on balancing and extending through the lifted arm and leg.
Exhale as you bring your knee and elbow toward each other, rounding your spine. Inhale again to extend the arm and leg.
Release the right leg and left arm back to the mat, then switch to the left leg and right arm.
Hero Pose (Virasana)
The Hero Pose is a seated kneeling yoga pose that promotes flexibility in the thighs and ankles while instilling a sense of calm. It is beneficial in improving posture, stretching the thighs, and promoting introspection during meditation. It's important to approach the pose mindfully, honouring your body's limitations and making necessary modifications for comfort and safety.
How to perform Virasana?
Kneel on the mat with your thighs perpendicular to the floor.
Bring your knees together, separating your feet slightly wider than hip-width apart.
Lower your hips onto the space between your heels. Ensure your weight is evenly distributed on both sides.
Elongate your spine and sit up straight, avoiding rounding in the lower back. Engage your core for stability.
Place your hands on your thighs or knees, with palms facing down or up based on your comfort.
Focus on deep, even breathing.
10-Minute Kneeling Yoga Sequence
Here’s a suggested 10-minute kneeling yoga sequence you can practise to enjoy its abundant benefits.
| Yoga Pose | Duration |
|---|---|
| Child’s Pose | 1 minute |
| Table Top Pose | 30 seconds |
| Cat Cow Pose | 1 minute (keep alternating between each pose five to ten times) |
| Balancing Table Top Pose | 30 seconds on each side |
| Low Lunge Pose | 30 seconds on each side |
| Half Splits Pose | 15 seconds on each side |
| Gate Pose | 30 seconds on each side |
| Hero Pose | 15 seconds |
| Camel Pose | 15 seconds |
| Puppy Dog Pose | 30 seconds |
| Thread the Needle Pose | 30 seconds on each side |
| Thunderbolt Pose | 1 minute |
| Child’s Pose | 1 minute |
Precautions To Take While Sitting on Knees Pose?
Before performing a kneeling yoga pose, you must consider some safety precautions to ensure flexibility and balance. These precautions will ensure you don’t suffer from any injury or discomfort you can otherwise encounter while getting into the postures.
Firstly, never pressurise yourself to achieve the position if it is getting uncomfortable and you’re experiencing pain.
Pregnant women should not perform specific poses. Consult a professional yoga trainer before you start practising.
Do not force or overstretch your body to the maximum. It can lead to injury or strain.
Stop immediately if you feel weak, shaky, numb, or fatigued.
Take the assistance of a trainer if you’re performing complex exercises. Alternatively, use a chair, cushion, or wall for support.
Who Should Not Practise Kneeling Asanas?
While it is safe to perform kneeling poses, some people should avoid practising them. These include the following people:
People who have undergone a sprain, fracture or surgery recently should not perform the poses because it can lead to more discomfort.
Do not practise complex yoga poses if you are going through menstruation.
If you have severe osteoporosis or arthritis that affects your knees, use caution or avoid doing a yoga pose on your knees.
Pregnant women should not practise kneeling exercises, especially the variations incorporating backbends like the Camel Pose.
Perform kneeling yoga 3 to 4 hours after a meal and not immediately.
If you feel your knee pain has increased, refrain from practising yoga poses. Consult a doctor to understand which poses are suitable for you.
Avoid performing yoga in acute stress conditions since your posture can go wrong.
Do not push yourself to do yoga on your knees if it is difficult for you to stand up from a kneeling posture without assistance.
If you do not fall into any of these categories, you can perform kneeling asanas to improve stability and mobility. Make sure you follow the steps carefully to get the postures right. Besides, keep the safety precautions in mind to avoid suffering injuries.
Tips to Keep In Mind For Achieving Kneeling Poses
You must be cautious while performing kneeling poses to avoid discomfort and injuries. Keep the following tips in mind, and you will be able to develop strength, flexibility, stability, and resistance over time.
Focus on your knees, hips, and ankles, regardless of which kneeling yoga position you’re performing.
Adjust the position if necessary, but if you feel your tendons and ligaments are out of place, do not perform.
If there’s any kind of discomfort in your knees, adjust the position of your knee and foot. You can also shake the knee a bit or come out of the pose completely.
Take a break from kneeling exercises if you don’t feel up to it.
How To Keep Your Knees Safe?
Kneeling asanas are more attainable than standing poses for many. However, you must know that practising kneeling yoga can take a toll on your joints. Add the following steps to your routine to stay safe and avoid injuries.
Keep a firm cushion, towel, or blanket underneath your knees and shins
Wear knee pads
Tri-fold or double up your mat to create additional cushioning
Avoid putting all your weight on the knees
Depending on the variation of the kneeling pose you’re practising, press into the toes, palms, or the tops of your feet, and engage your core.
Keep a bolster or blanket underneath your thighs while practising a kneeling yoga position like Thunderbolt.
Use a bolster or block to elevate your hips in poses like the Hero Pose.
In postures like the Child’s Pose, keep a bolster or block underneath the forehead, belly, thighs, or arms to create space.
Conclusion
Kneeling yoga positions are tougher to perform than some seated poses. But they are less intense than standing asanas.
Beginners should take it slowly since they need to strengthen their knees before practising yoga flows like Vyaghrasana Dandayamana Bharmanasana or Parighasana Kneeling Ardha Chandrasana Vinyasa. You can use props like cushions and blankets to make the poses safer.
While the benefits of kneeling yoga poses are evident, it is vital to understand how a health insurance plan can help promote and sustain overall well-being. Backing your fitness regimen with medical insurance can ensure that you are protected financially as well.
You experience the benefits of health insurance when you encounter an unforeseen event and require financial support to cover the medical expenses.
Tata AIG offers health insurance policies to help you combat rising medical costs, avail cashless treatment, and save on taxes. We have a high claim settlement ratio, with an ever-growing commitment to customer service and support.
FAQS
What yoga pose is good for the knees?
The different yoga poses to perform to strengthen knee muscles are Utkatasana, Malasana, Virabhadrasana, Ardha Chandrasana, and Utkata Konasana.
What are the benefits of kneeling?
There are many benefits of practising kneeling asanas. They can improve flexibility, strength, and balance. Moreover, if you suffer from knee osteoarthritis, they can enhance mobility and reduce pain.
How do you get comfortable kneeling?
You can get comfortable with kneeling by activating your ankles and toes. Press your toes or the top of your feet against the floor when sitting on the knees pose.
Disclaimer / TnC
Your policy is subjected to terms and conditions & inclusions and exclusions mentioned in your policy wording. Please go through the documents carefully.
Related Articles